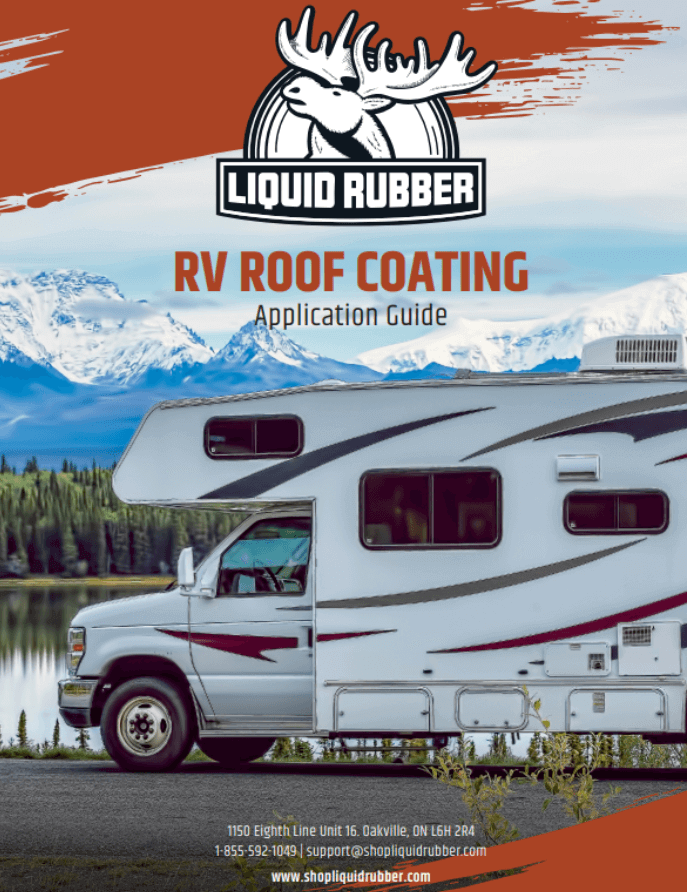
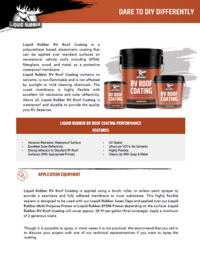
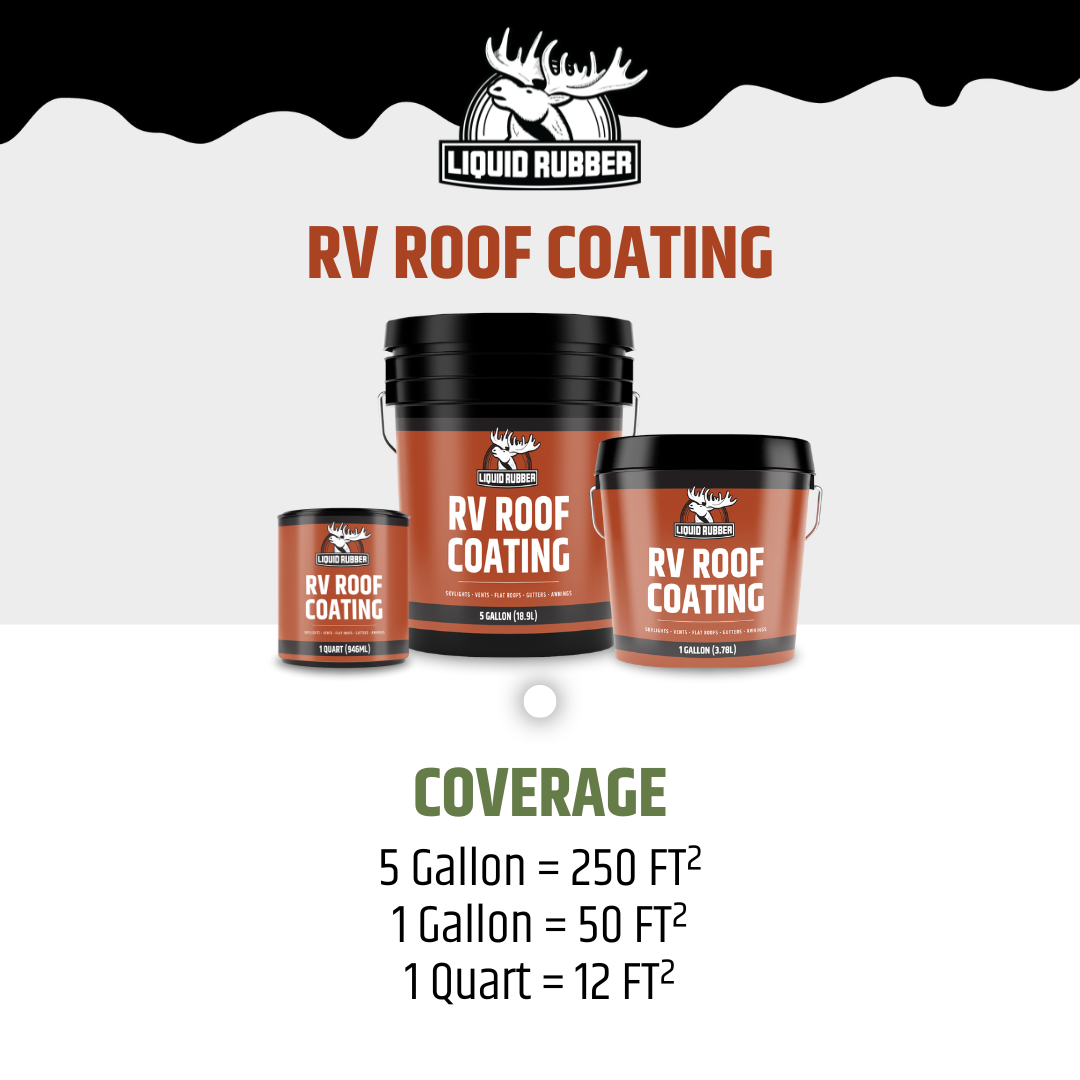
RV Roof Coating

Regular price $44.95 Regular price
  • Over 100,000 RV Owners Protected
  • Fully Restore Your RV Roof In A Weekend 

  • Save Thousands Over A Dealership


  • $44.95
Color:
White
Due to computer monitors, colors may not be exactly as shown.
Size:
UNSURE HOW
MUCH YOU NEED?
Free shipping on Canada orders over $74.95+ Free shipping on UK orders over £49.95+ Free shipping on US orders over $49.95+
Also available to purchase on

RV Roof Coating

RV Roof Coating

Regular price $44.95 Regular price

BUILD YOUR RV ROOF KIT & SAVE 10%

CHOOSE THE LENGTH OF YOUR RV

FEET

Amount of each product will be calculated below

RV Roof Coating White / 1 quart (946ML)

Why do I need


Provides your waterproof protective barrier and solar reflectivity.

$44.95 $44.95

EPDM & TPO Primer 1 Gallon (3.78L)
?

Primer specific to roof surface

Seam Tape 2IN x 50FT (15M)

Why do I need

Used to bridge across larger areas and protect areas prone to leaking.


$44.95

RV Roof Smart Cleaner 1 Gallon (3.78L)

Why do I need

Non-Toxic - Clean your roof without killing your grass or polluting the sewers.


$34.95 $34.95

RV Lap Sealant 10oz (296ML) cartridge / White

Why do I need

Seal around vents, skylights and other areas. Self-leveling. 


$19.95 $19.95

Subtotal
$0.00

Choose primer type or remove primer


DETAILS


The Importance of Resealing Your RV Roof

  • When you maintain or reseal your RV roof, you want to know it will work, look good and last
  • Using Liquid Rubber will save you thousands in service costs, damages and missed trips
  • Used by over 100,000 RV Owners just like you
  • Fully restore your RV Roof over a weekend
  • 100% Satisfaction Guaranteed


RV Roof Sealer

  • Suitable for all RV Roofs (with appropriate Primer)
  • Non-Toxic, VOC free and safe to use indoors and out
  • Excellent solar reflectivity keeps your RV cooler in the summer
  • Guaranteed Best Price


Protect Your RV with Liquid Rubber RV Roof Repair Sealant

If you're a DIY enthusiast who loves their RV, the Liquid Rubber RV roof repair sealant should be your go-to product for roof maintenance. It's not just about preventing water damage; it's also about keeping your RV in top shape for your next adventure.


Recognizing the Problem: RV Roof Leaks

RV roof leaks are a common issue faced by most mobile home owners, irrespective of the make or model. These rooftop leaks are not exclusive to older models but can also afflict even the most recent, high-end RVs.

Why does this happen? The rooftop of your RV is subjected to a tremendous amount of stress, particularly when you're on the move. Twisting and turning on the road can lead to cracks around the skylights, roof-mounted AC units, and vents. Additionally, constant exposure to UV rays can cause the rooftop membrane to shrink, crack, and warp, leading to leaks.Rain, ice, snow, and extreme temperature fluctuations are other contributing factors. If you don't address these leaks immediately, mold can develop inside your RV’s roof and walls, making it unsafe to live in.


Keeping Your RV’s Roof in Top Shape

After you've sealed your RV roof, it's important to follow a regular maintenance schedule. Wash your RV roof thoroughly every 2-3 months. If you're travelling in areas with high winds, dust storms, heavy air pollution or under tree sap and leaves, you might need to wash it more frequently.While cleaning, check the roof openings for cracks in the seals around your vents. Repair any damaged areas immediately to prevent water and insects from penetrating your RV.


FAQs & SUPPORT


Does Liquid Rubber have free shipping?

US   - Shipping is free when your purchase is $49.95 or higher

CAN   - Shipping is free when your purchase is $74.95 or higher

UK   - Shipping is free when your purchase is $49.95 or higher  


Does Liquid Rubber have free returns?
Yes, we offer a 30-day return window on all purchases. Learn more HERE


How long does it take to get my order once I have placed it?
US   - Delivered in 3-5 business days

CAN - Delivered in 3-7 business days

UK -  Delivered in 2-3 business days


Can I get a First Purchase discount?
By signing up and creating an account HERE, you will receive 10% off your first purchase. You will need to check your email and verify it by clicking the link.


What are the RV Roof Product Coverage Rates

Product Coverages

  • Enter the length of your RV to find everything you need in 1 simple kit and save 10% - Coverage Calculator Click Here
  • Individual Product Coverage - Click "Read More" below

Read More


RV Roof Coating

  • 1 gallon per 50 sq ft (4.7 sq/m)
  • 5 gallon per 250 sq ft (23.2 sq/m)
  • 5 gallons covers a 30 foot RV

RV Roof Smart Cleaner

  • 1 gallon per 200-400 sq ft (18-37 sq/m)

EPDM & TPO  Primer

  • 1 quart per 60 sq ft (5.6 sq/m)
  • 1 gallon per 250 sq ft (23.2 sq/m) 

Multi-Purpose Epoxy Primer

  • 1 quart per 50 sq ft (4.7 sq/m)
  • 1 gallon per 200 sq ft (18.6 sq/m)

Seam Tape

  • 4” wide x 50’ long
  • Calculate your total length to cover

Lap Sealant Caulking

  • 1 tube - 22 linear feet (6.7m) at 5/16” (8mm) thickness
  • 4 tubes - 88 linear feet (26.8m at 5/16” (8mm) thickness
  • Typically 4 tubes are needed for a 30 foot RV


I have specific application questions like what primer do I use, what products do I need or can I go over old tape or sealant?

Step 1: Watch the How To Video HERE

Step 2: Read the How To Steps HERE

Step 3: Read the Full Application Guideline HERE

Step 4: Read more RV Roof Coating FAQ’s HERE

Step 5: Call us at 1-855-592-1049 or fill out the Contact Form below


Customer Reviews

Based on 176 reviews
85%
(149)
7%
(13)
3%
(5)
1%
(1)
5%
(8)
J
Joshua Ward

Doesn’t mix w tint

We don't recommend tinting our products as we cannot really predict the results. Also if you try to tint it yourself and don't like it, it will not be returnable or refundable.
With that being said, it is possible to combine 2 of the same products to get a custom color. Note that our Waterproof Sealant, Foundation Sealant, MetalSafe Sealant and Neopond Sealant only come in black and are not tintable due to the chemistry of those products.

E
Esmaill Alexander

Hi yes I have all the materials for my project unfortunately due to bad weather I have not been able go ahead with my job having said that I have no doubt I will do an excellent job on my roof. Thanks again.

It's always tough to predict the weather. Hopefully it goes in your favor soon Esmaill. Please let us know if you have any questions along the way.

C
Charles Michalk
Great product

Although the product was great, the customer service was even better. I called on several occasions, and every time the people I talk to were courteous, knowledgeable, and extremely helpful.

Thank you, that's very kind of you to say Charles. We try our best to stand apart from others by providing superior support and having real people to talk to.

k
keven mckay

RV Roof Coating

Great to hear your project went well Keven. Please let us know you have any questions along the way.

J
James Paulson

RV Roof Coating

Thanks for taking the time to give a 5 star review James. Please let us know if we can help with anything along the way.

HOW TO usE liquiD RubbER RV ROOF REpaiR sEaLaNT


How Do I Recoat A RV Roof


For the Full Application Guideline Download - CLICK HERE - below is a list of general steps on how to use Liquid Rubber RV Roof Sealant.

  1. Determine Roof Material

Read More

The first step of using RV Rubber Roof sealant is to determine your roof’s material. Here is how to determine RV roof type: 

  1. EPDM - smooth & rubbery.  White top and black bottom.  Most common RV Roof material.
  2. TPO - Textured & plasticky.  Same color top and bottom.
  3. Metal/Aluminum - Looks like a metal roof.
  4. Fiberglass - smooth hard gel like surface.
  5. PVC/Vinyl - smooth & plasticky.  Same color top and bottom.

If you’re not sure of your RV Roof type, take some pictures and email them over to support@shopliquidrubber.com. We can walk you through the whole process. 


  1. Inspecting RV Seams, Joints and Roof

Read More
  1. Remove loose, flaking Lap Sealant.
  2. Remove any Silicone Caulking (usually clear or opaque and rubbery).
  3. Check for cracks or seams pulling back, coming loose.
  4. Look for signs of cracking, peeling, or bubbling.

  1. Preparation & Cleaning

Read More
  1. For TPO RV Roofs:
    1. Sand very well with 120 grit sandpaper
  2. For PVC, Metal and Fiberglass RV Roofs:
    1. Roughen the surface with 120 grit sandpaper
  3. Clean with Liquid Rubber RV Roof Cleaner for all roof types.
  4. Use masking tape for areas not to be painted.  Remove while Primer/Coating is still wet.

  1. Sealing RV Roof Vents & Seams

Read More
  1. Wipe around edges and seams with an Acetone soaked rag. Do not pour Acetone directly on the roof.
  2. Use Liquid Rubber Lap Sealant around smaller vents and seams and Liquid Rubber Seam Tape for larger areas that need to be bridged.
  3. Prime around the vents and edges with appropriate RV Roof Primer. Do not Prime over Lap Sealant or Seam Tape.
    1. Fiberglass, Metal, PVC/Vinyl - use Liquid Rubber Multi-Purpose Primer
    2. EPDM, TPO - use Liquid Rubber EPDM & TPO primer
  1. When the Primer is dry (EPDM & TPO Primer is sticky when dry), apply a heavy coat of Liquid Rubber RV Roof Coating over the Primer, Lap Sealant and Seam Tape.  Leave some of the Primer exposed so you can lap onto it later.

  1. How To Apply RV Roof Repair Sealant Coating

Read More
  1. Wipe one side of the roof lengthwise with Acetone soaked rage and apply Primer. Allow 1-2 hours to dry (Primer will remain sticky)
  2. Apply RV Roof Coating in a heavy coat over the Primer leaving 4-6 inches of the Primer exposed.
  3. Once RV Roof Coating is dry (6-8 hrs) and you can work on it, wipe the other side of the roof with Acetone soaked rage and apply Primer.
  4. Apply RV Roof Coating in a heavy coat over the Primer.
  5. Once dry and you can work on it, apply additional coats in opposite directions until you use up your final recommended coverage.  ie. 5 gallons for a 30 ft RV

  1. Weather & When To Apply

Read More
  1. Apply in dry, warm temperatures.
  2. 10C/50F and above.
  3. Below 80% humidity.
  4. Avoid direct, hot, intense sun.

  1. Tips & Tricks

Read More
  1. Use disposable gloves.
  2. Use throw away brushes and rollers.
  3. Do not let products freeze in their containers.
  4. Use a tarp to lay out products and keep area clean.
  5. Mix products well before using.
  6. Speak to Liquid Rubber Tech Support if you have any questions.

  1. Application Guideline & Documents

Read More


  1. Application Guideline

  2. Product Checklist

  3. Technical Data Sheet

  4. Safety Data Sheet


GET IN TOUCH

Not sure what products you need or how to use
them? Call us or fill out your details. Our DIY
Support will get back to you shortly.

US and CAN 1-855-592-1049
UK 020 8058 3938
Office hours 9am - 4:30pm EST.
Tony Head of DIY support